Autonomous Construction Robot — Cross-Platform Design
I designed the cross-platform experience for HP SitePrint — an autonomous robot that automates construction layout. My job was balancing what the hardware could physically do with what operators needed on an active construction site.
The Ecosystem
Construction crews went from 25 linear feet per hour to 300. 86% cost reduction. 40x speed on complex layouts. Deployed across 100+ projects in 6 countries.
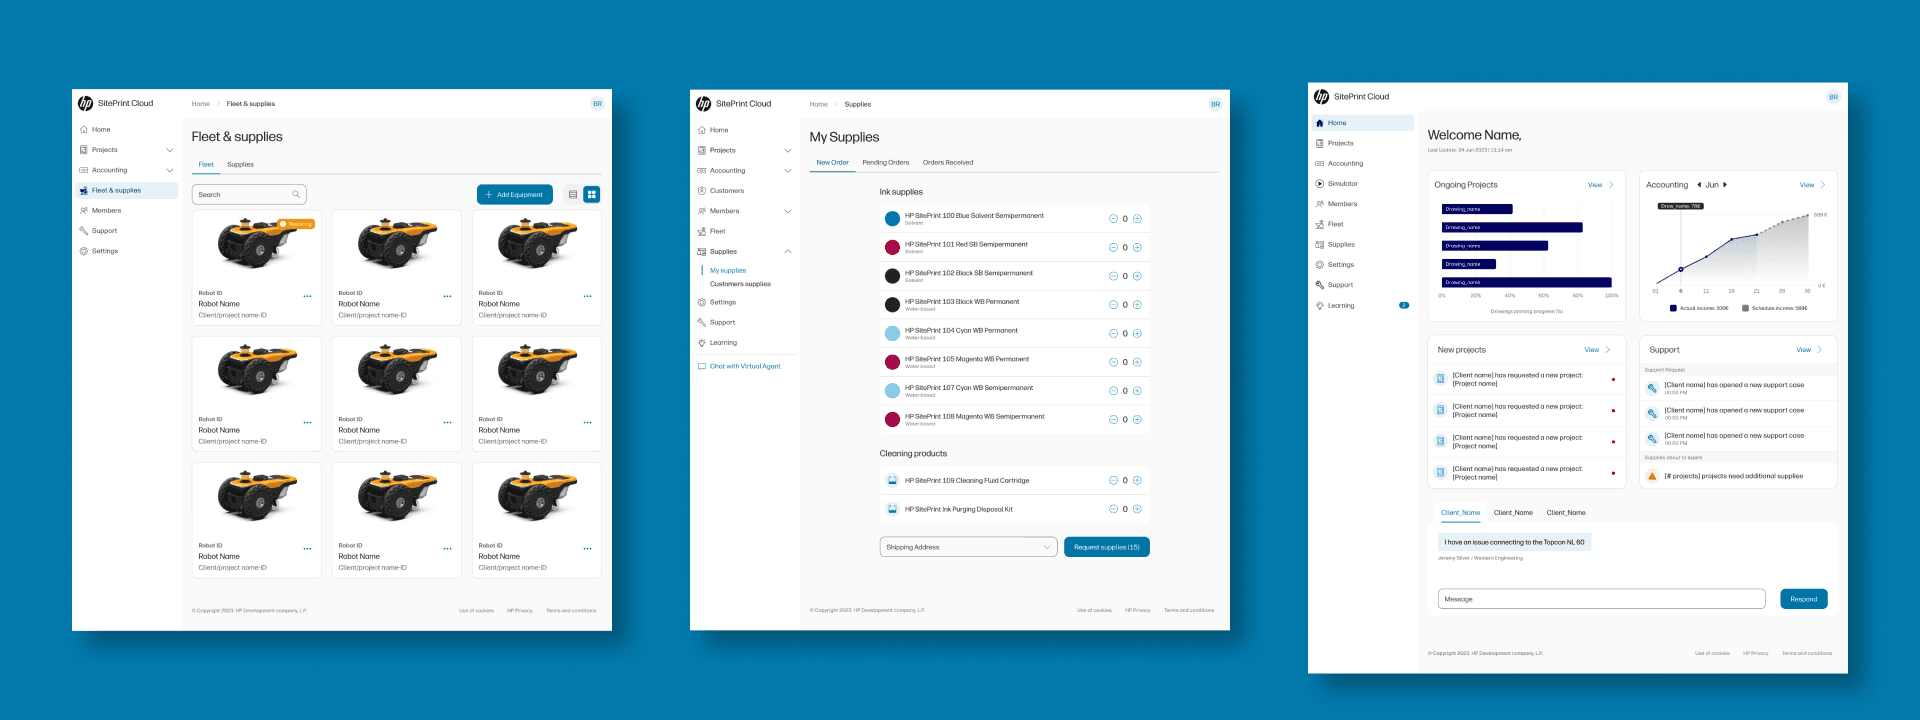
Those numbers come from a robot. But behind them is a design ecosystem with two very different surfaces. A control panel app that operators use on active construction sites. And a web platform where account managers plan robot fleets like vehicle logistics — tracking ink consumption per square meter, scheduling deployments, analyzing performance.
Field data feeds the platform. Platform decisions shape what happens in the field. I designed both sides of that system at Nacar Design, working as HP's design contractor.
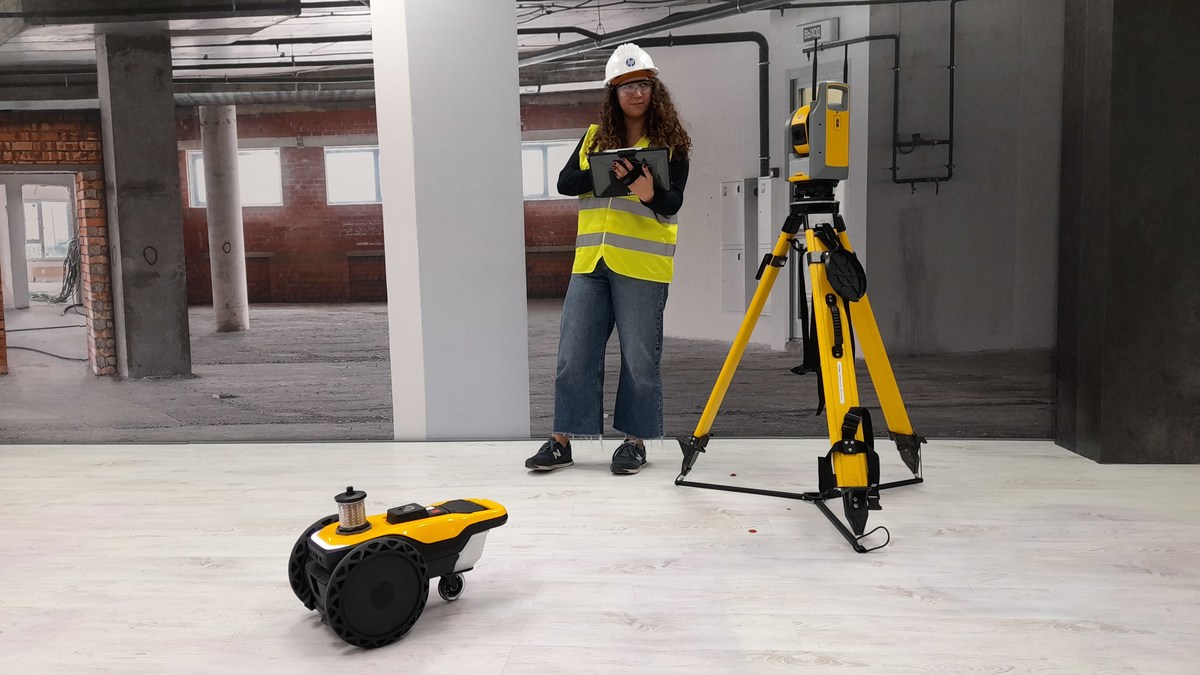
Trimble and HP, live demo.
The Constraints
Every feature I designed had to pass through robotics engineers first. The relationship worked in two directions. Sometimes they came to us: "the robot can now detect obstacles." I translated that into a usable feature. Other times I proposed something and they explained why the hardware couldn't do it.
The second constraint was industry context. Construction professionals work in CAD, Revit, SketchUp daily. Both the control panel and the platform had to follow conventions from those tools. Inventing new interaction patterns wasn't an option. Matching the mental models operators already had was.
The Design Logic
The robot could detect obstacles, identify control points, and print construction layouts on the ground. Three capabilities. The question was how to give operators control over all three.
I designed a layer system inspired by Photoshop and Revit — a model construction professionals already understood. Each layer got a typology: print (the layout lines the robot draws), obstacle (columns and structures the robot avoids), or control (doors, windows — reference points for positioning). Each typology had its own line style and color.
The operator organized layers visually. The robot read them as operating instructions.
That's what made this different from anything else I've designed. The interface wasn't just showing information — it was programming the robot's behavior.
A wrong layer assignment didn't cause confusion on a screen. It caused the robot to print in the wrong place on a real construction site.
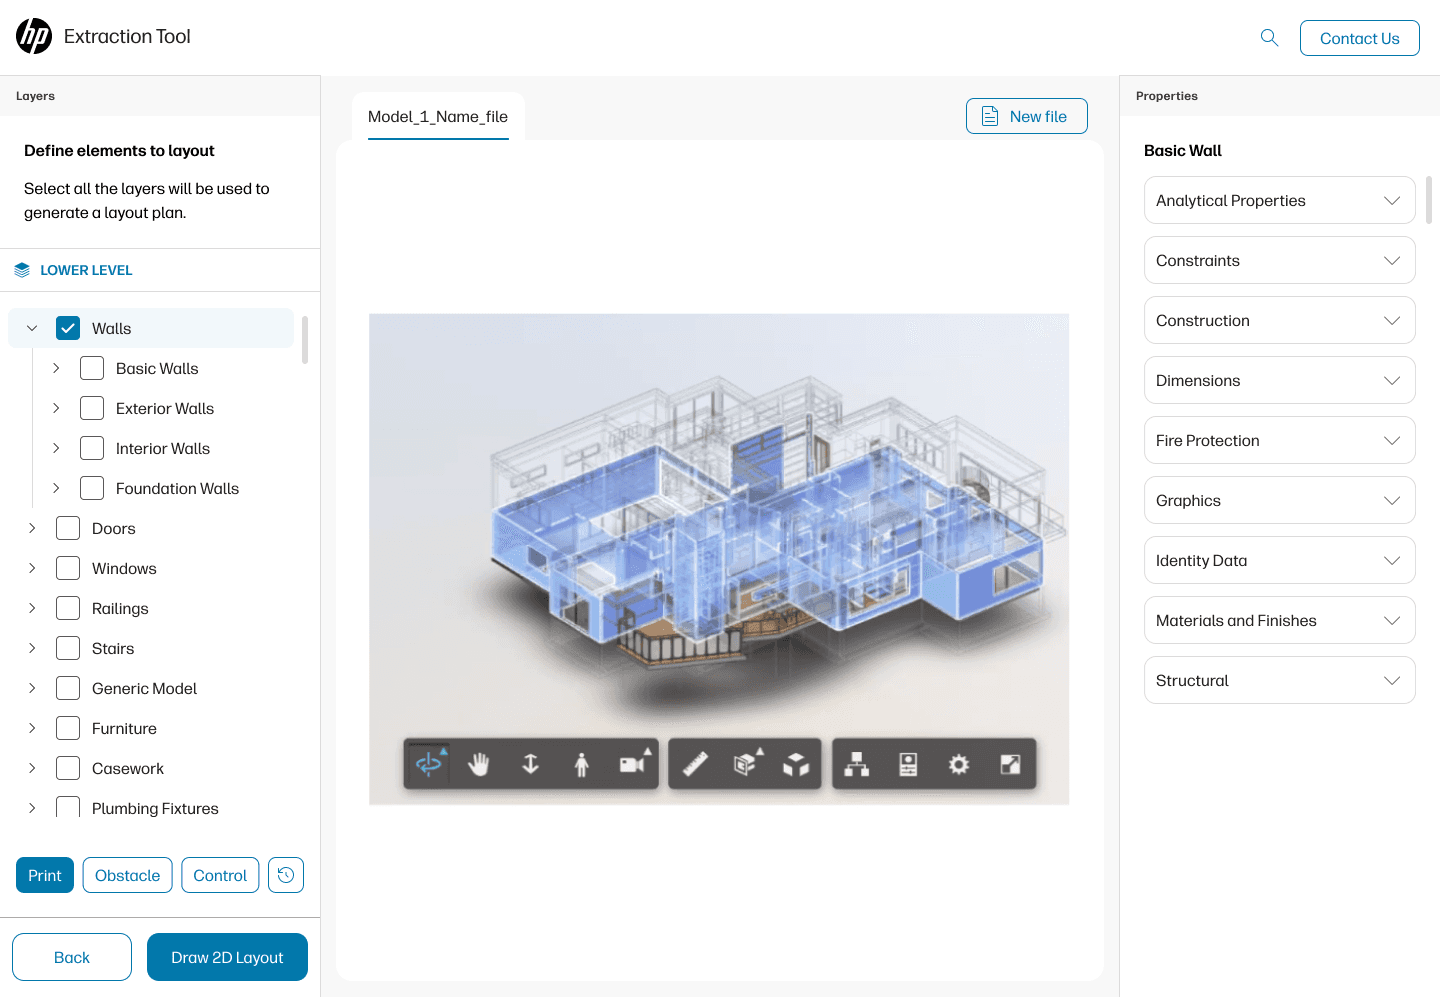
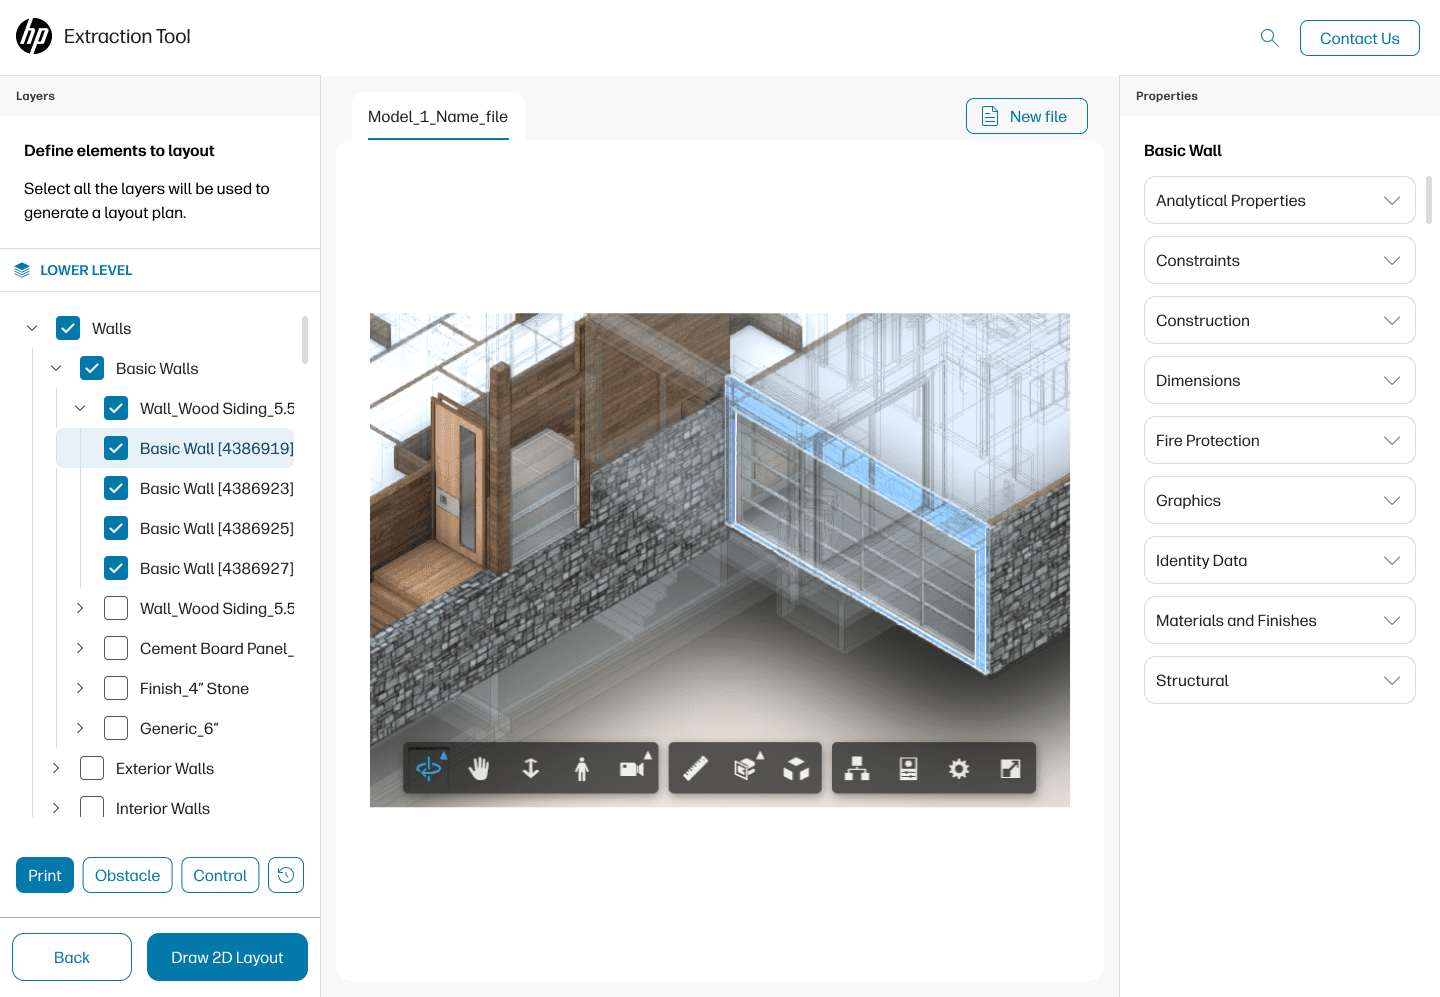
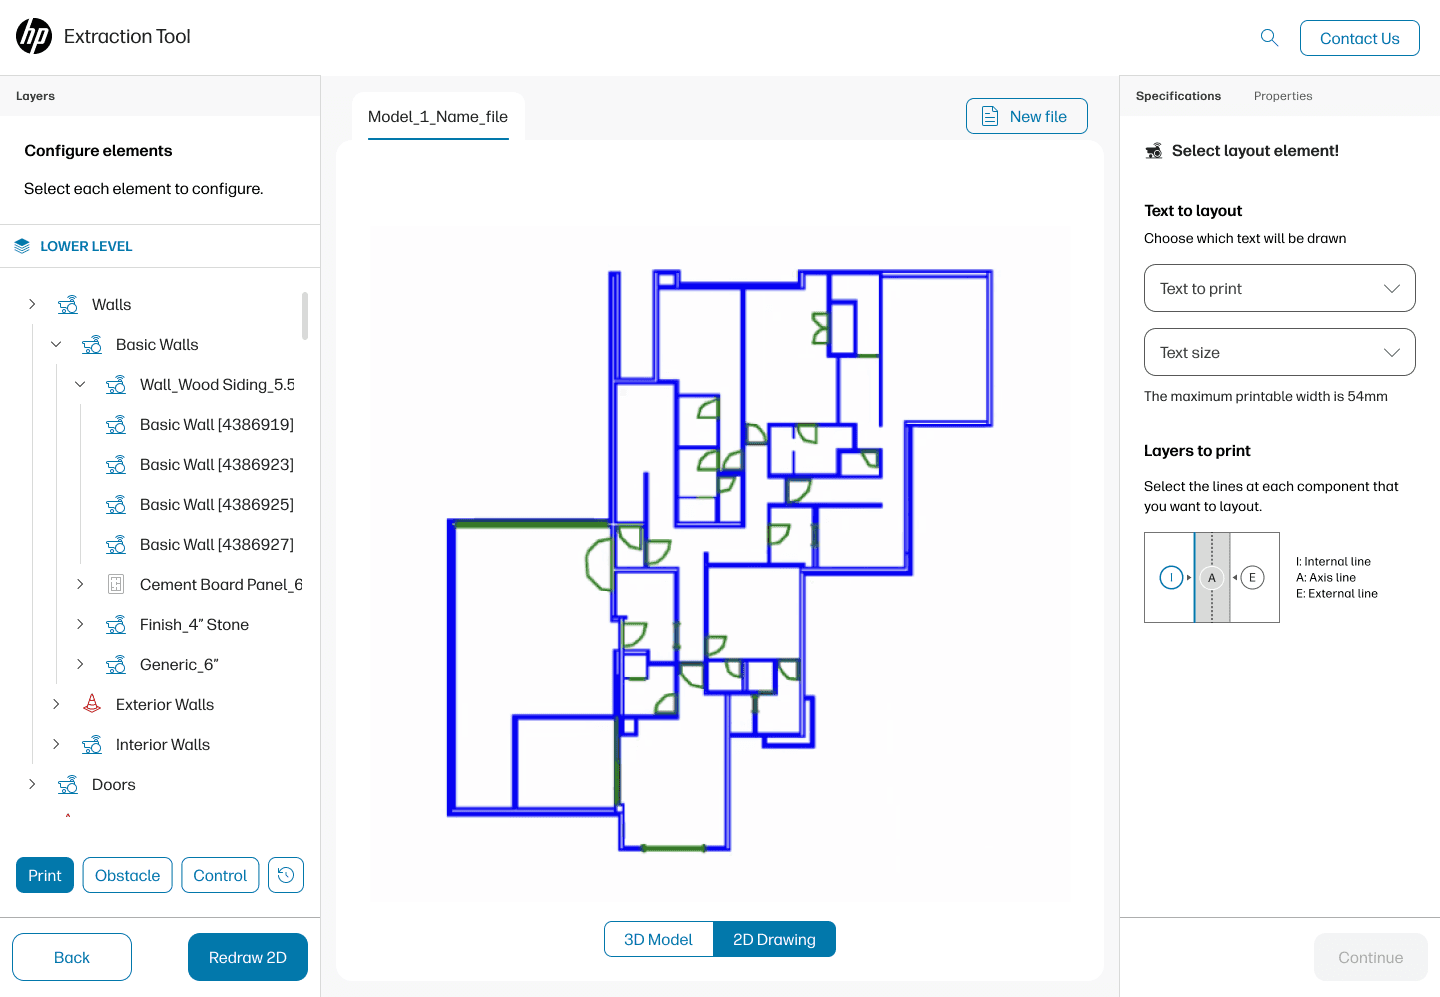
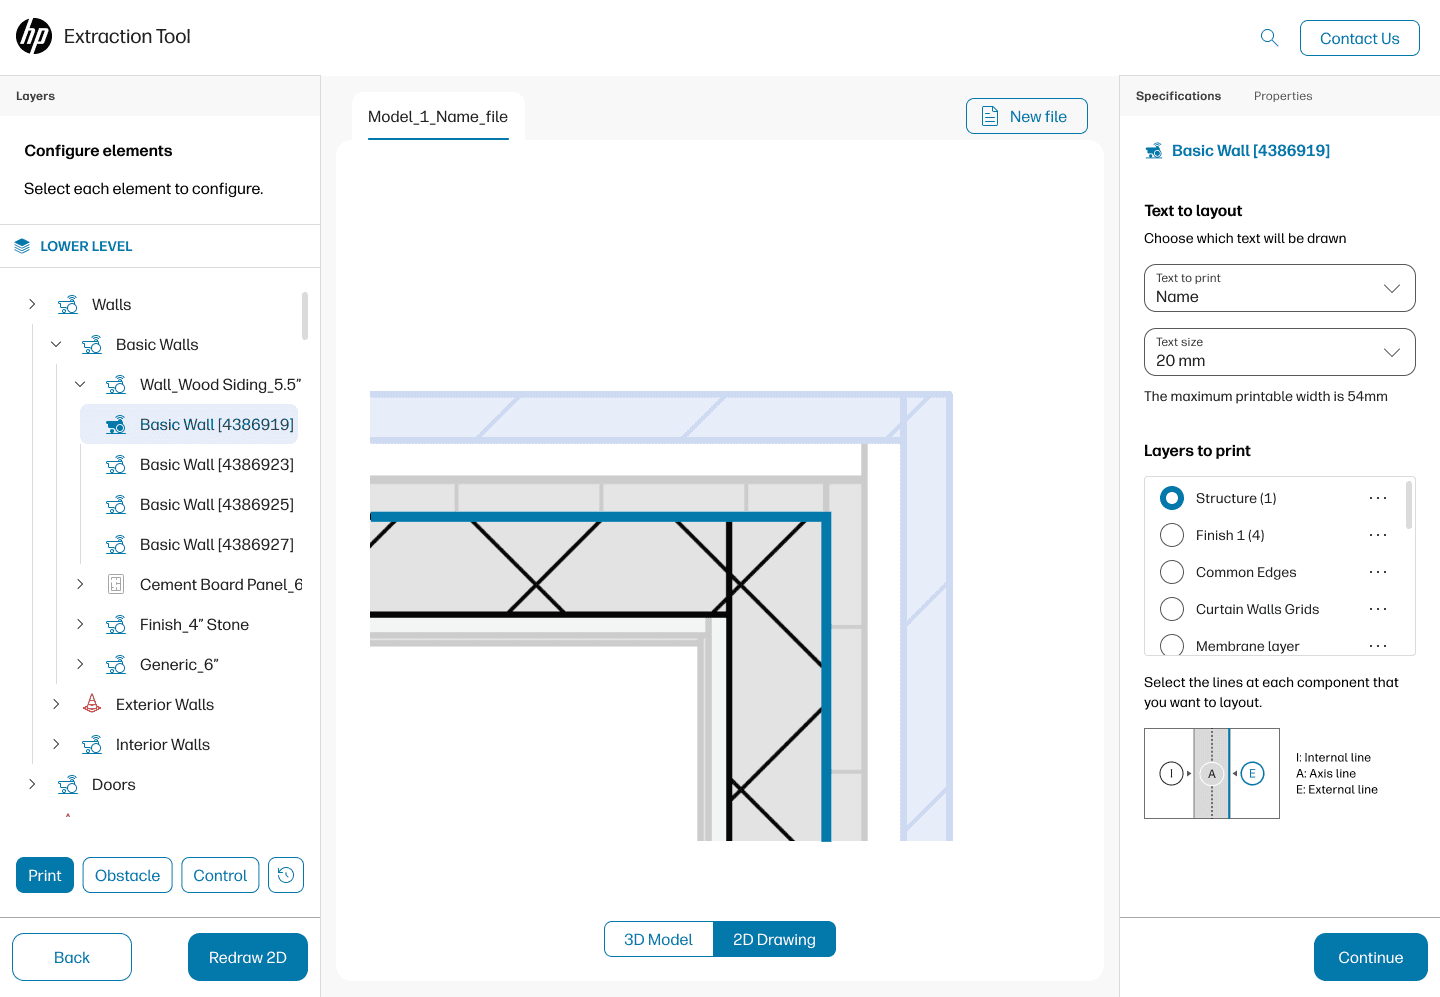
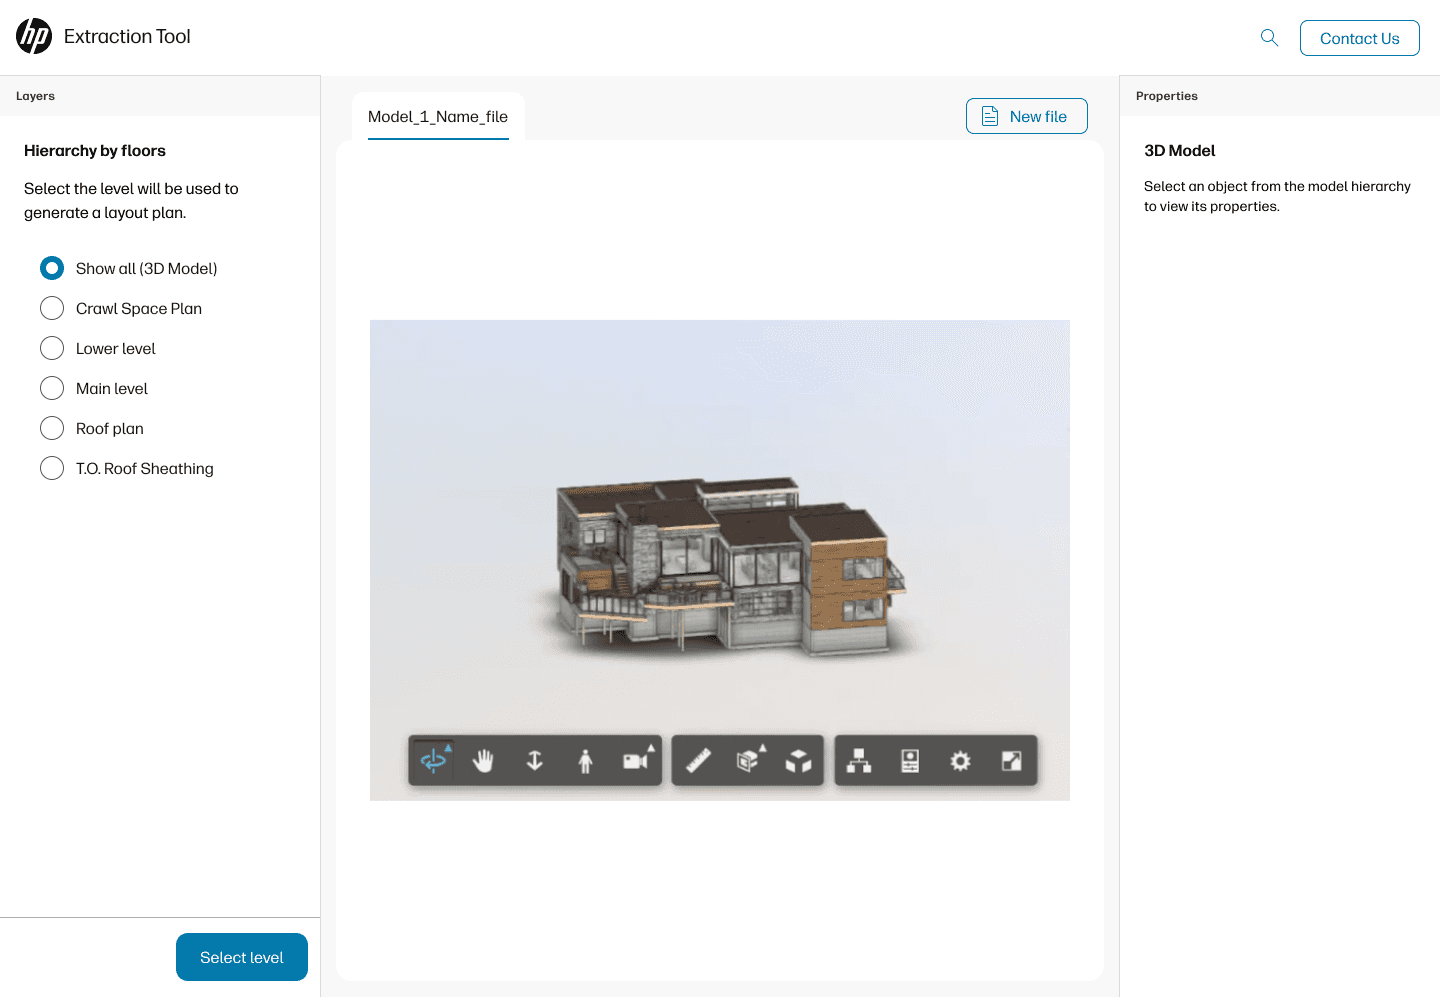
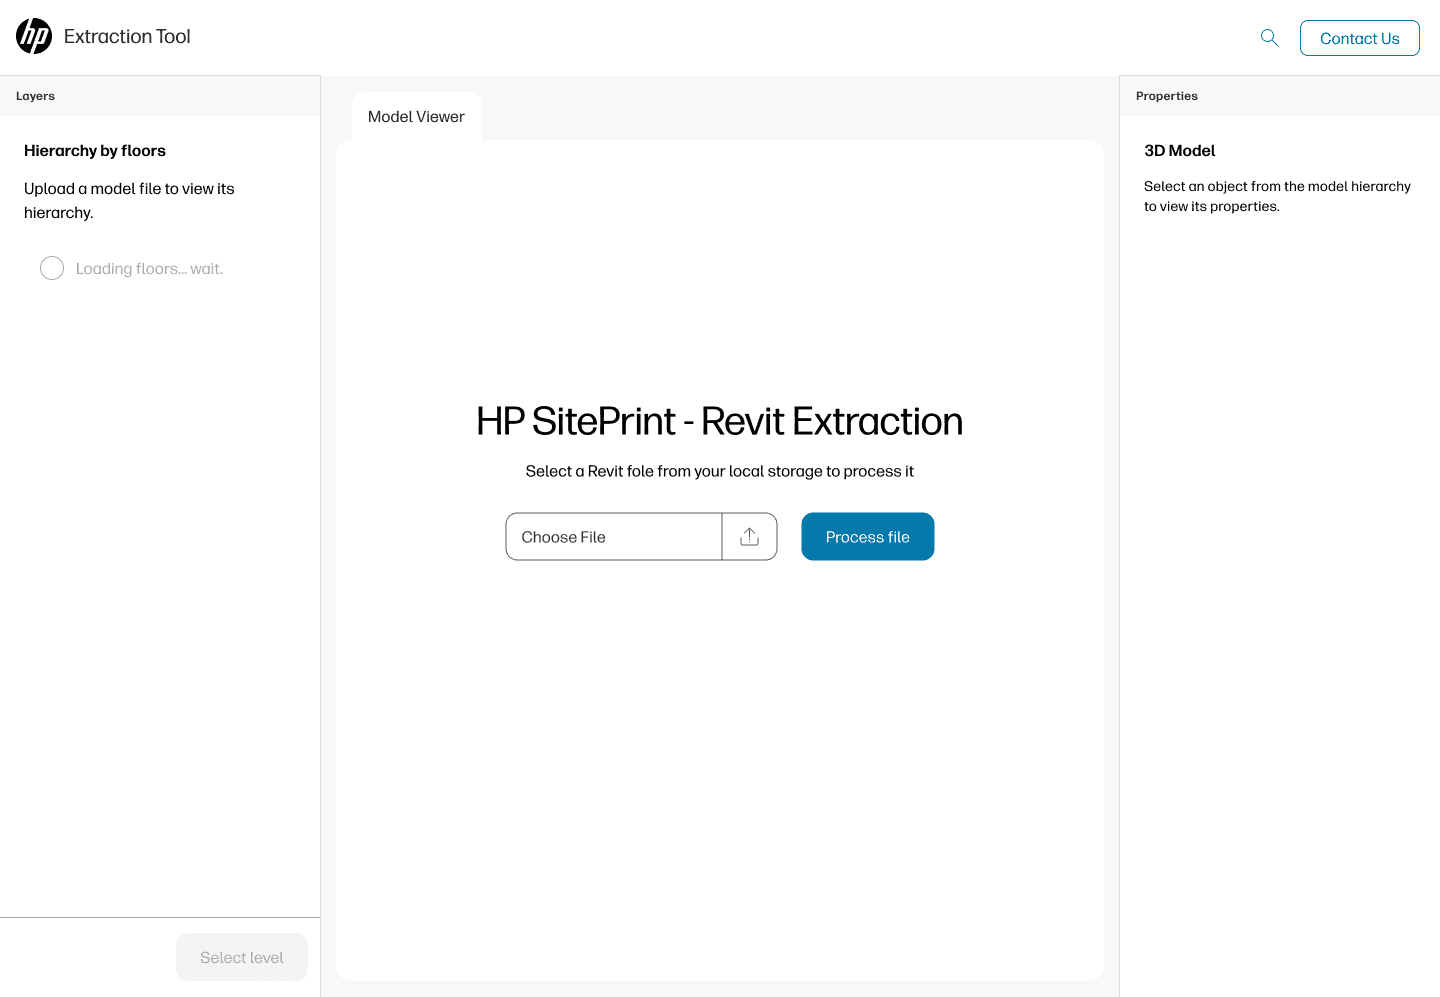
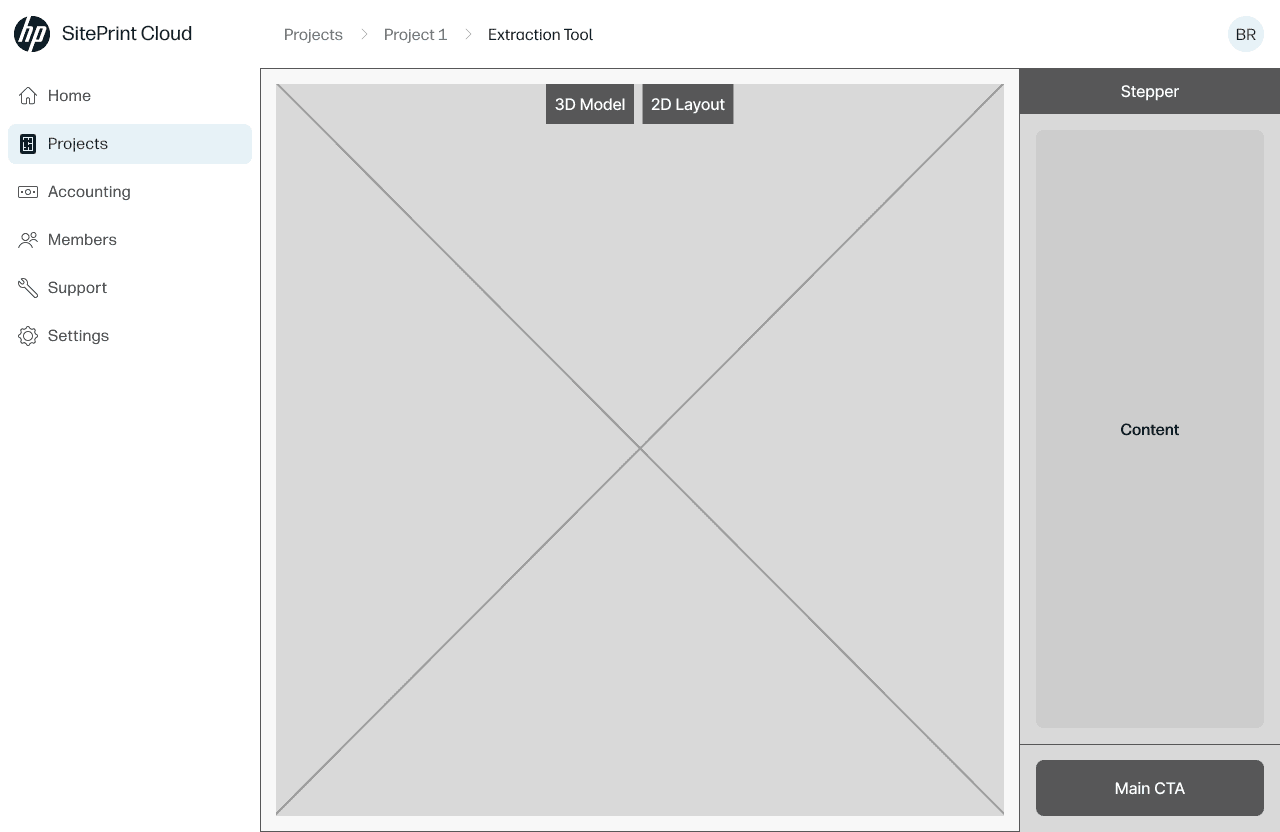
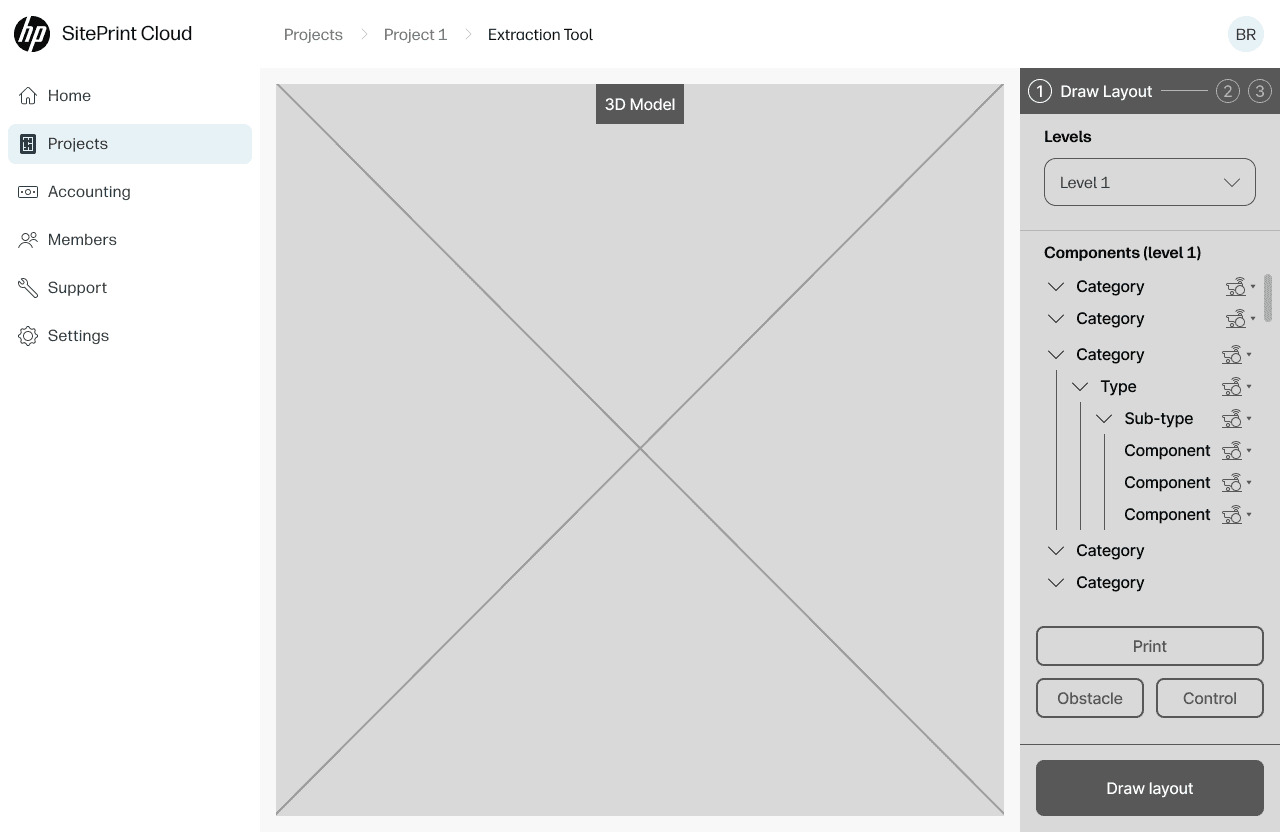
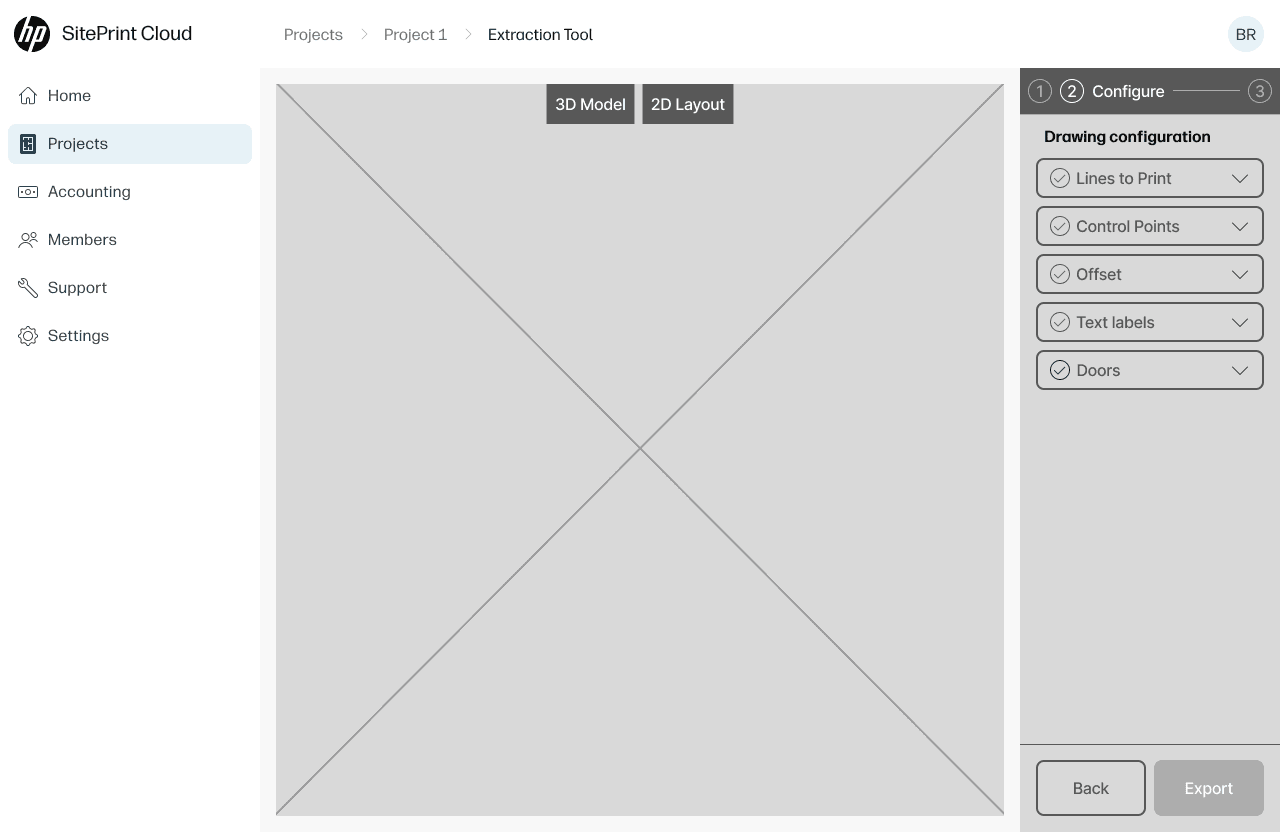
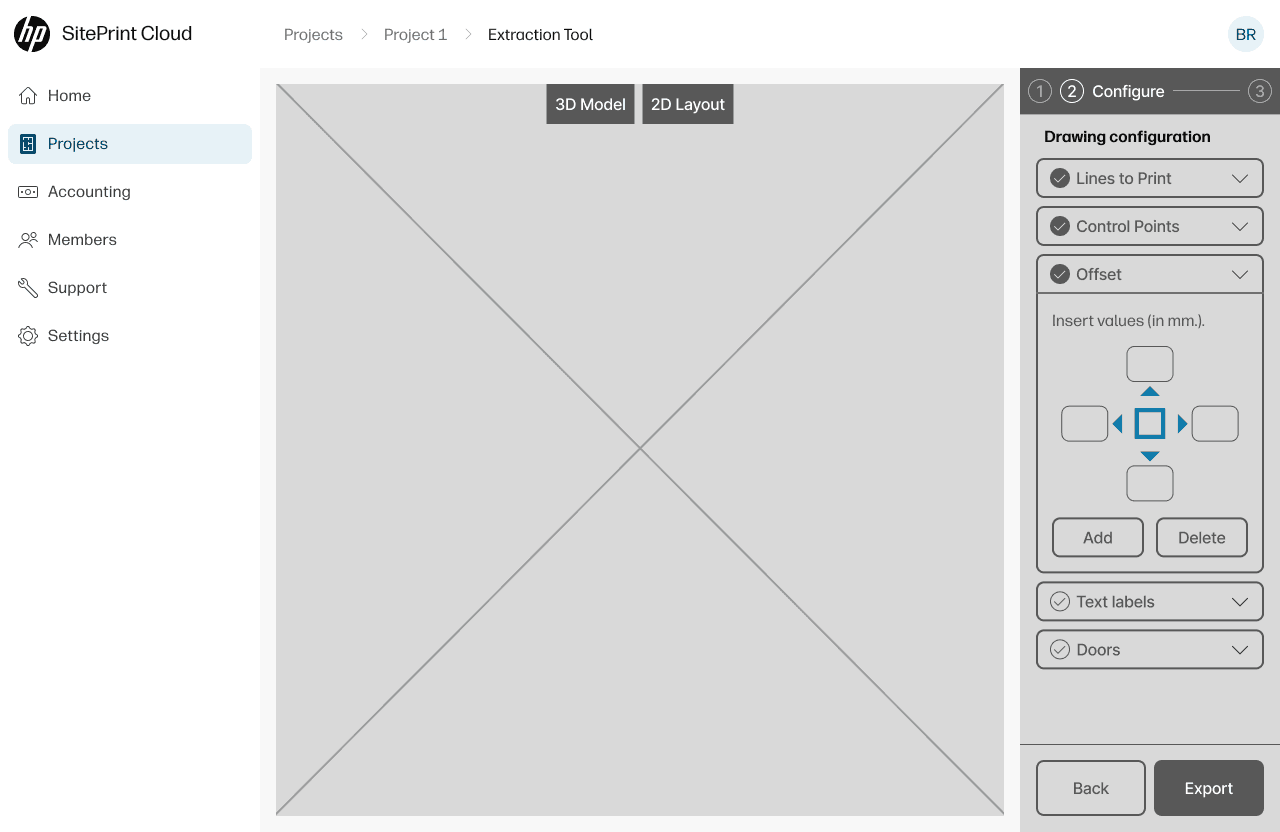
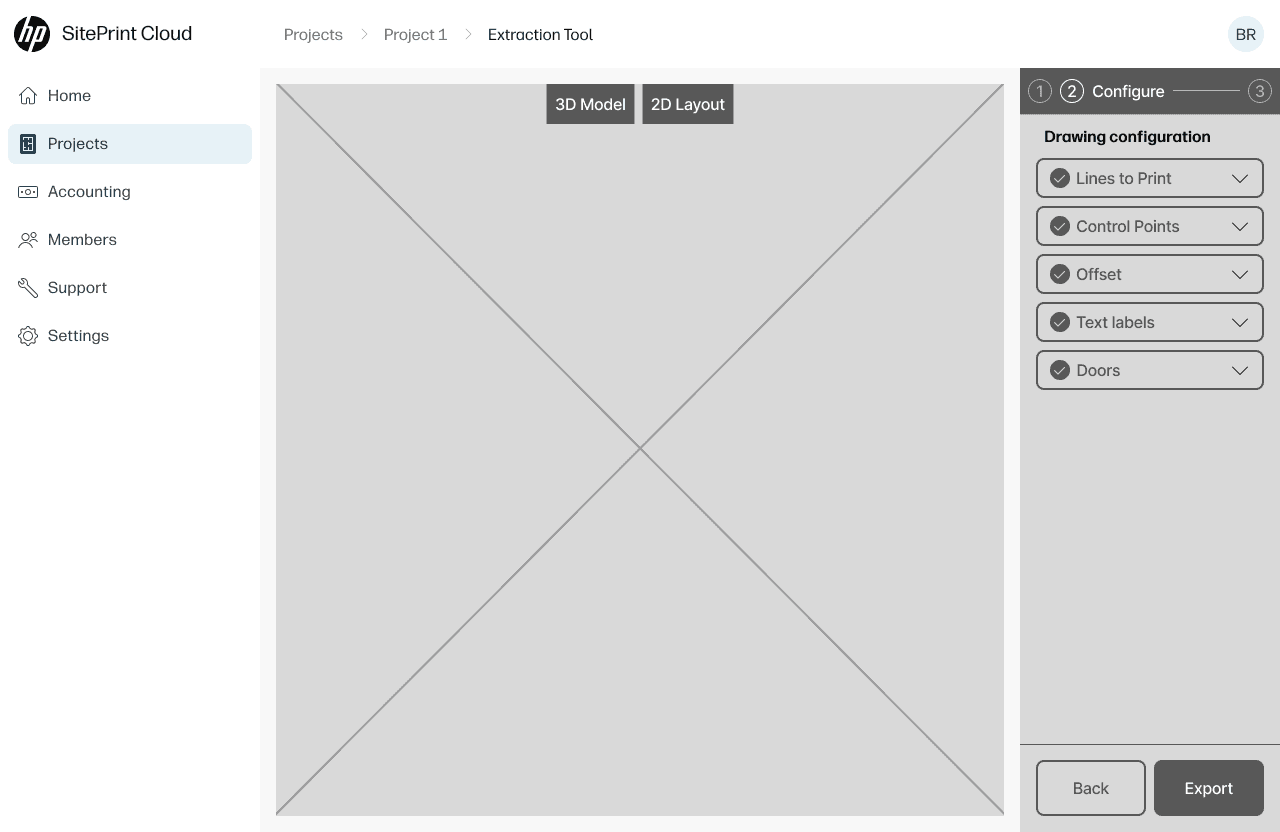
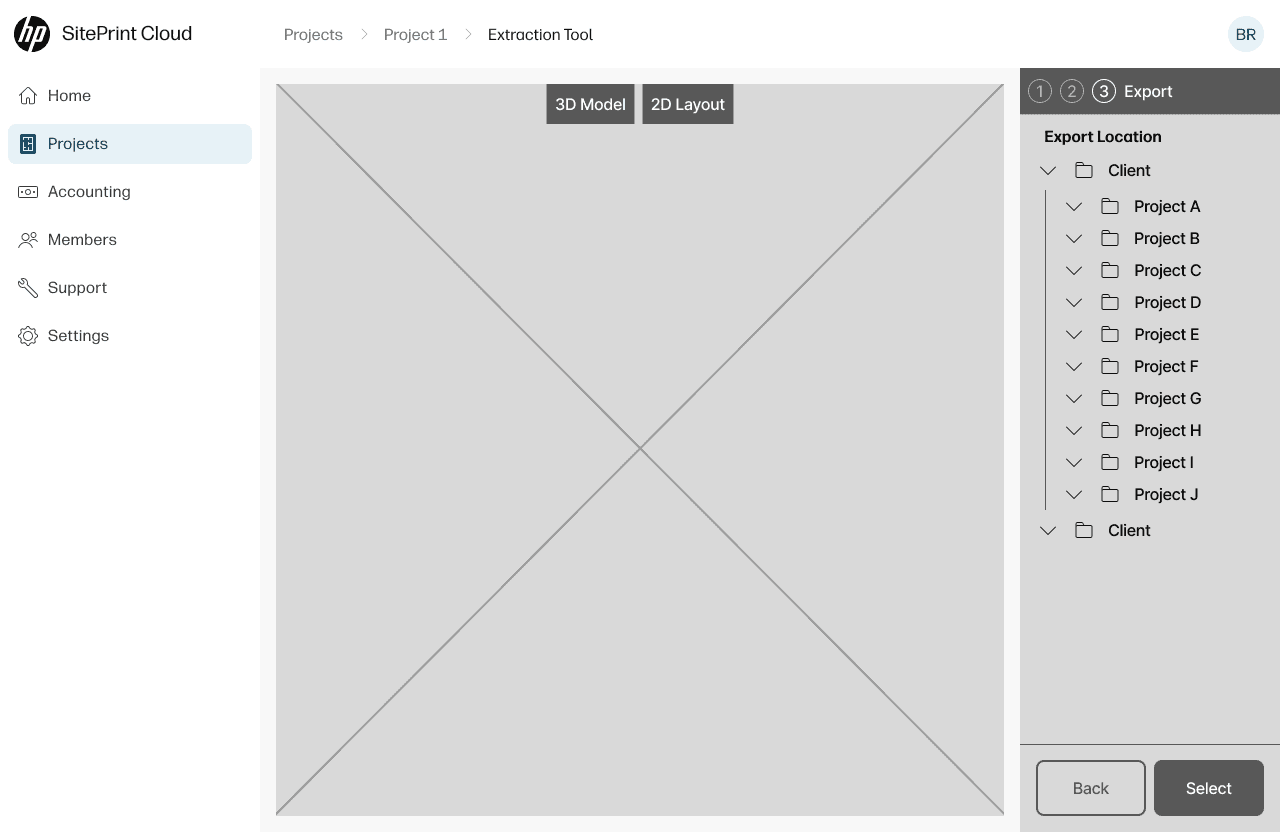
Layer editor — typology selection
The Work
Control Panel — Field Operations
The control panel ran on tablet for on-site operators. Every screen had to work on a construction site — gloves, sunlight, dust, constant interruptions. No room for subtle interactions or small touch targets.
Beyond the layer system, I designed three key features. The notification system communicated robot status in real time: printing progress, errors, maintenance alerts, ink levels. I designed it as a persistent status bar plus an expandable notification center. Operators needed both at-a-glance status and detailed history without leaving their current task.
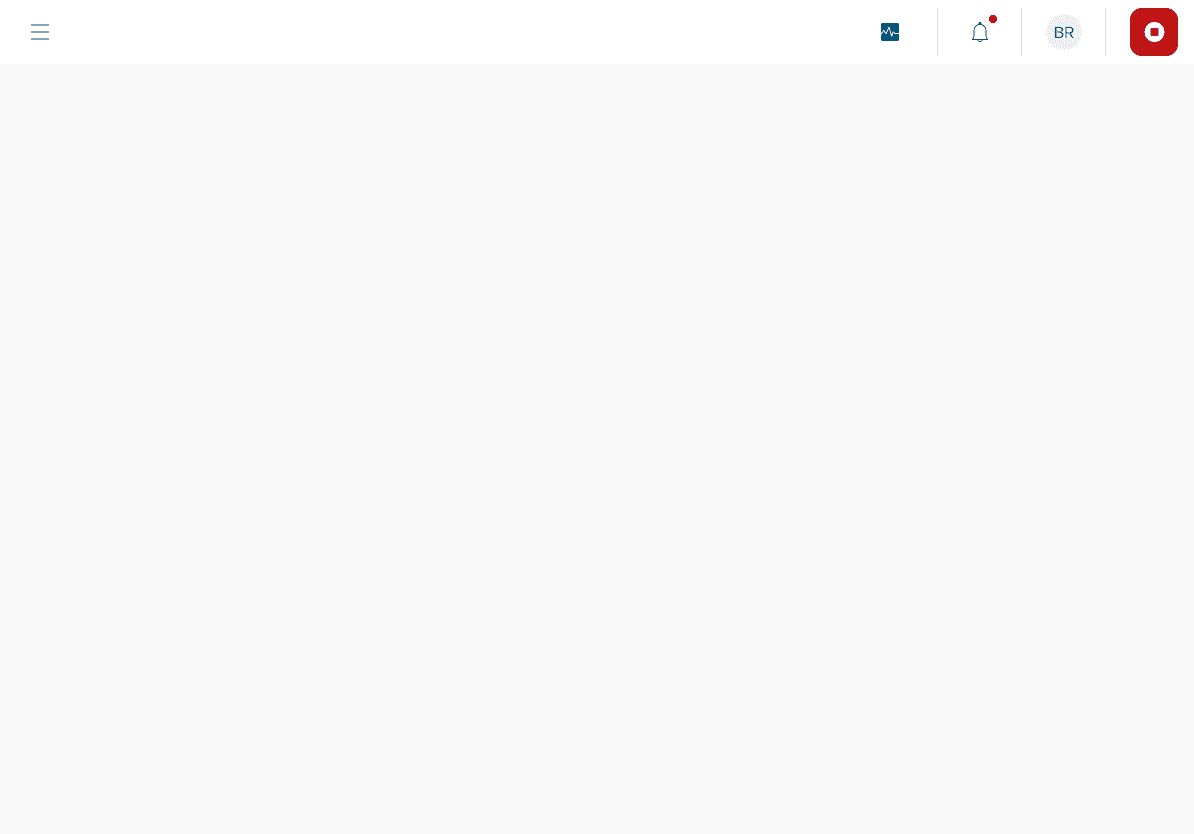
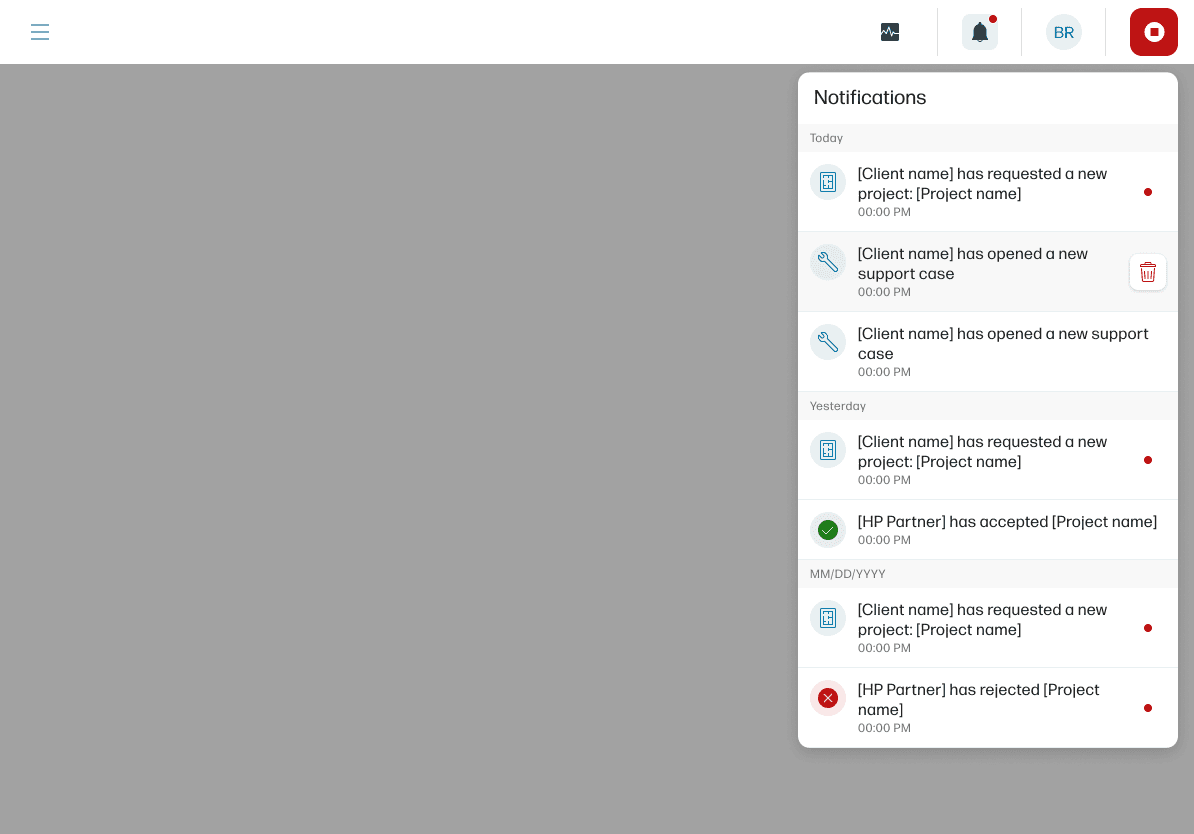
Notifying system to communicate the status of the robot and to monitor the service.
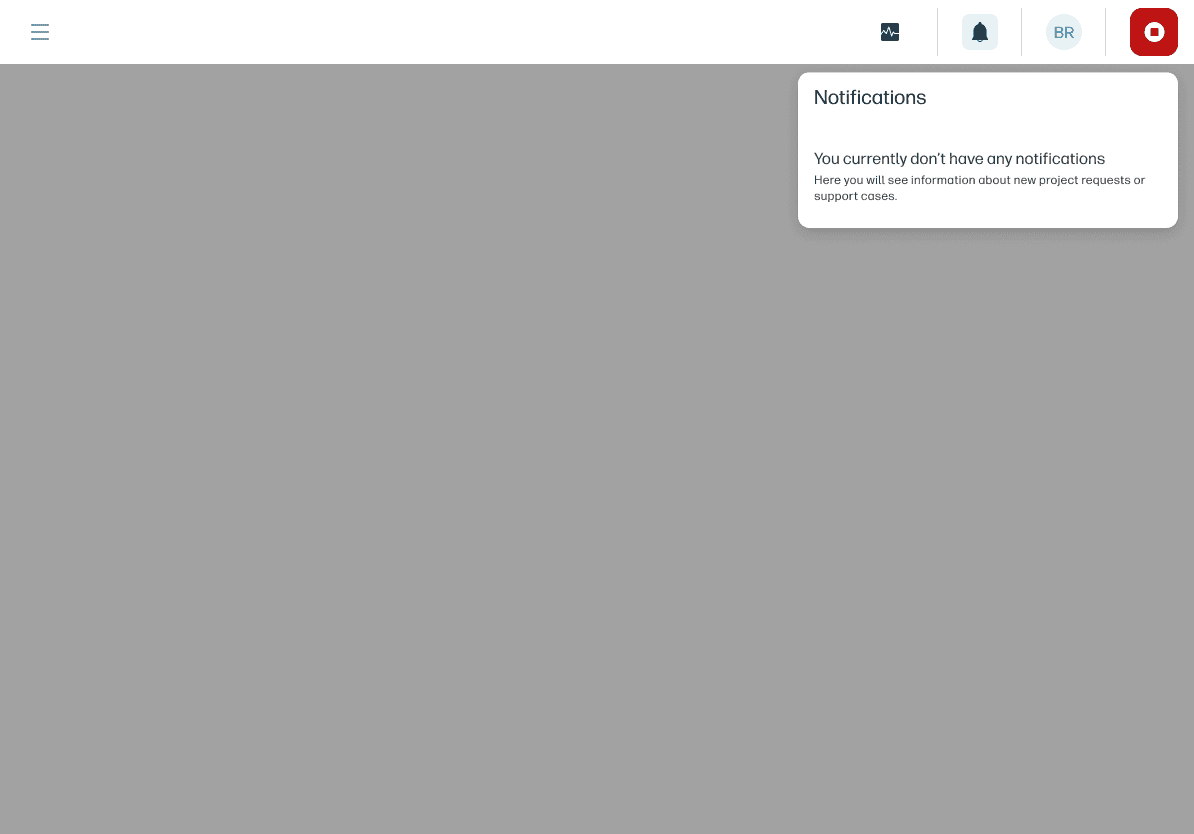
How the Notification Center behaves in the Control Panel
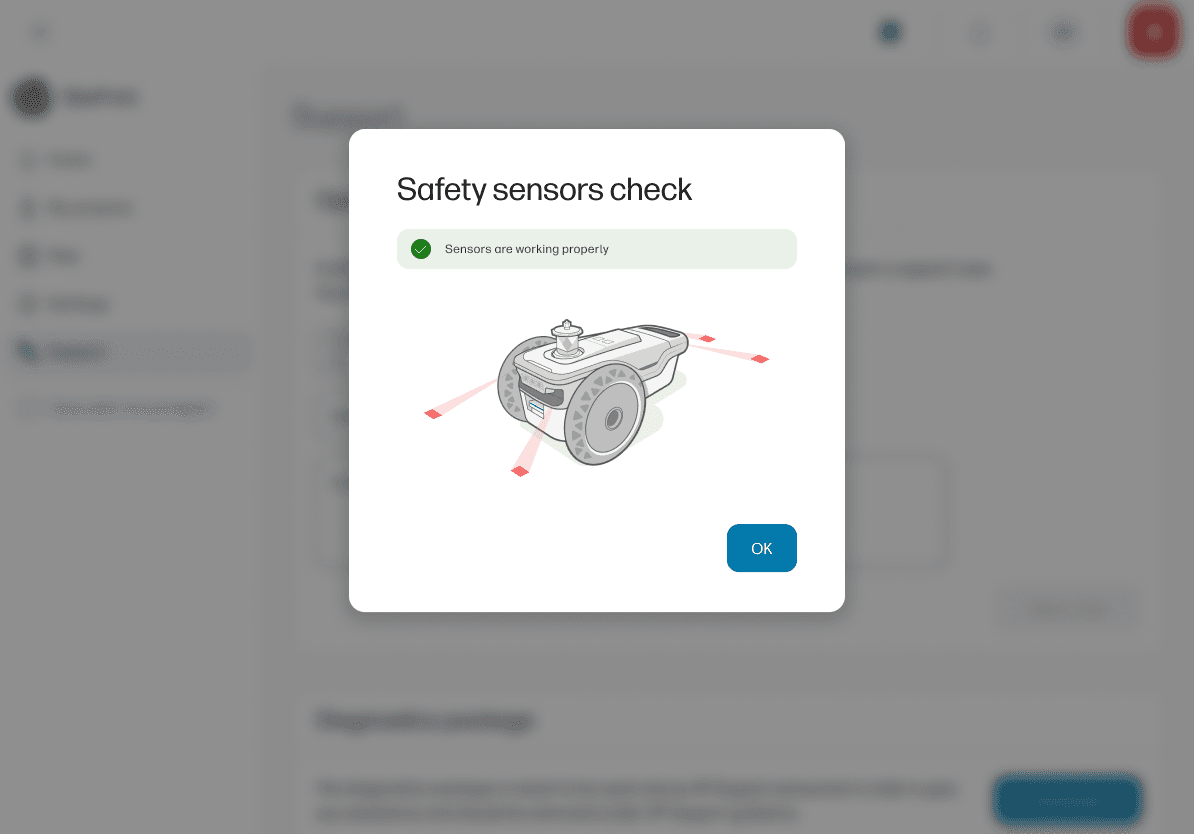
The sensor check flow was a step-by-step sequence operators ran before each print session. The robot's navigation sensors needed calibration verification — skip a step, and the robot prints offset from the plan. I designed it as a guided checklist with pass/fail states for each sensor, so the operator knew exactly what to fix before starting.
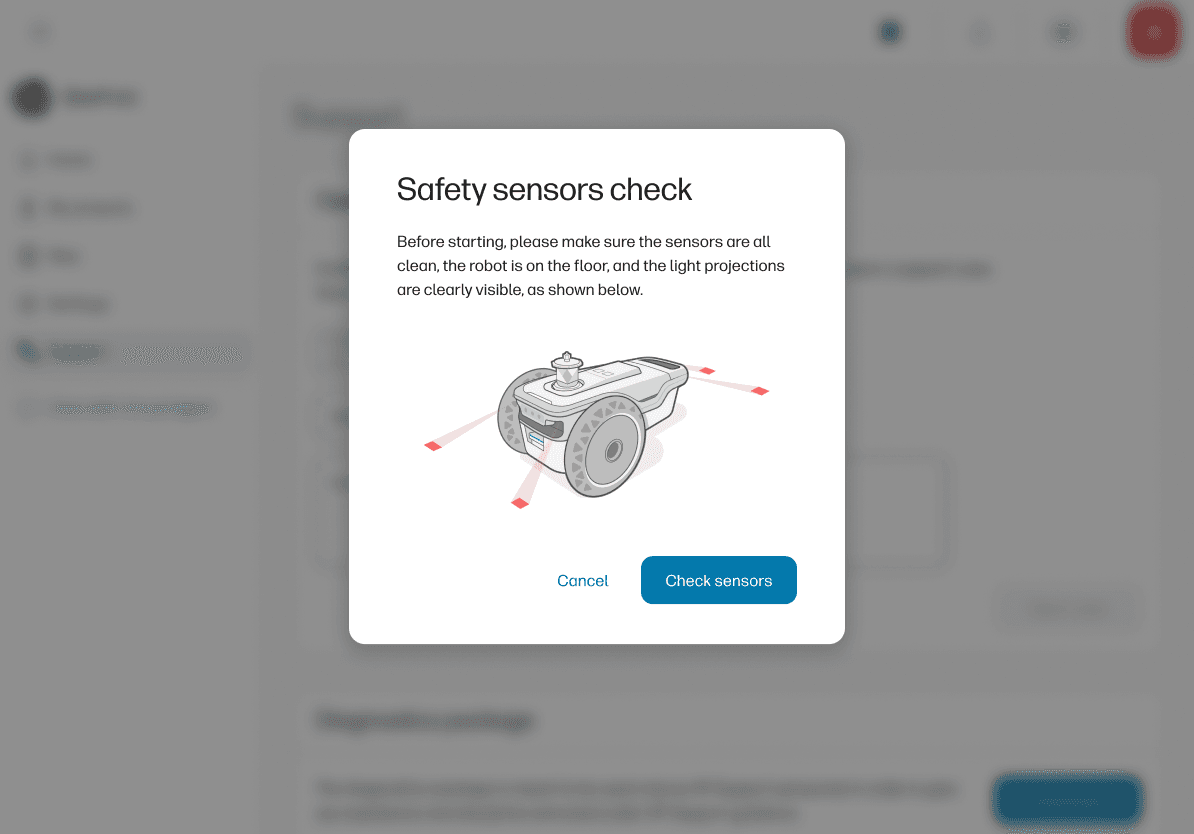
Steps to check the robot's sensor navigation
The layer editor let operators assign typologies, adjust line properties (weight, color, style), and preview the print layout before sending it to the robot. Each change was immediately reflected in the preview — operators could see exactly what the robot would print.
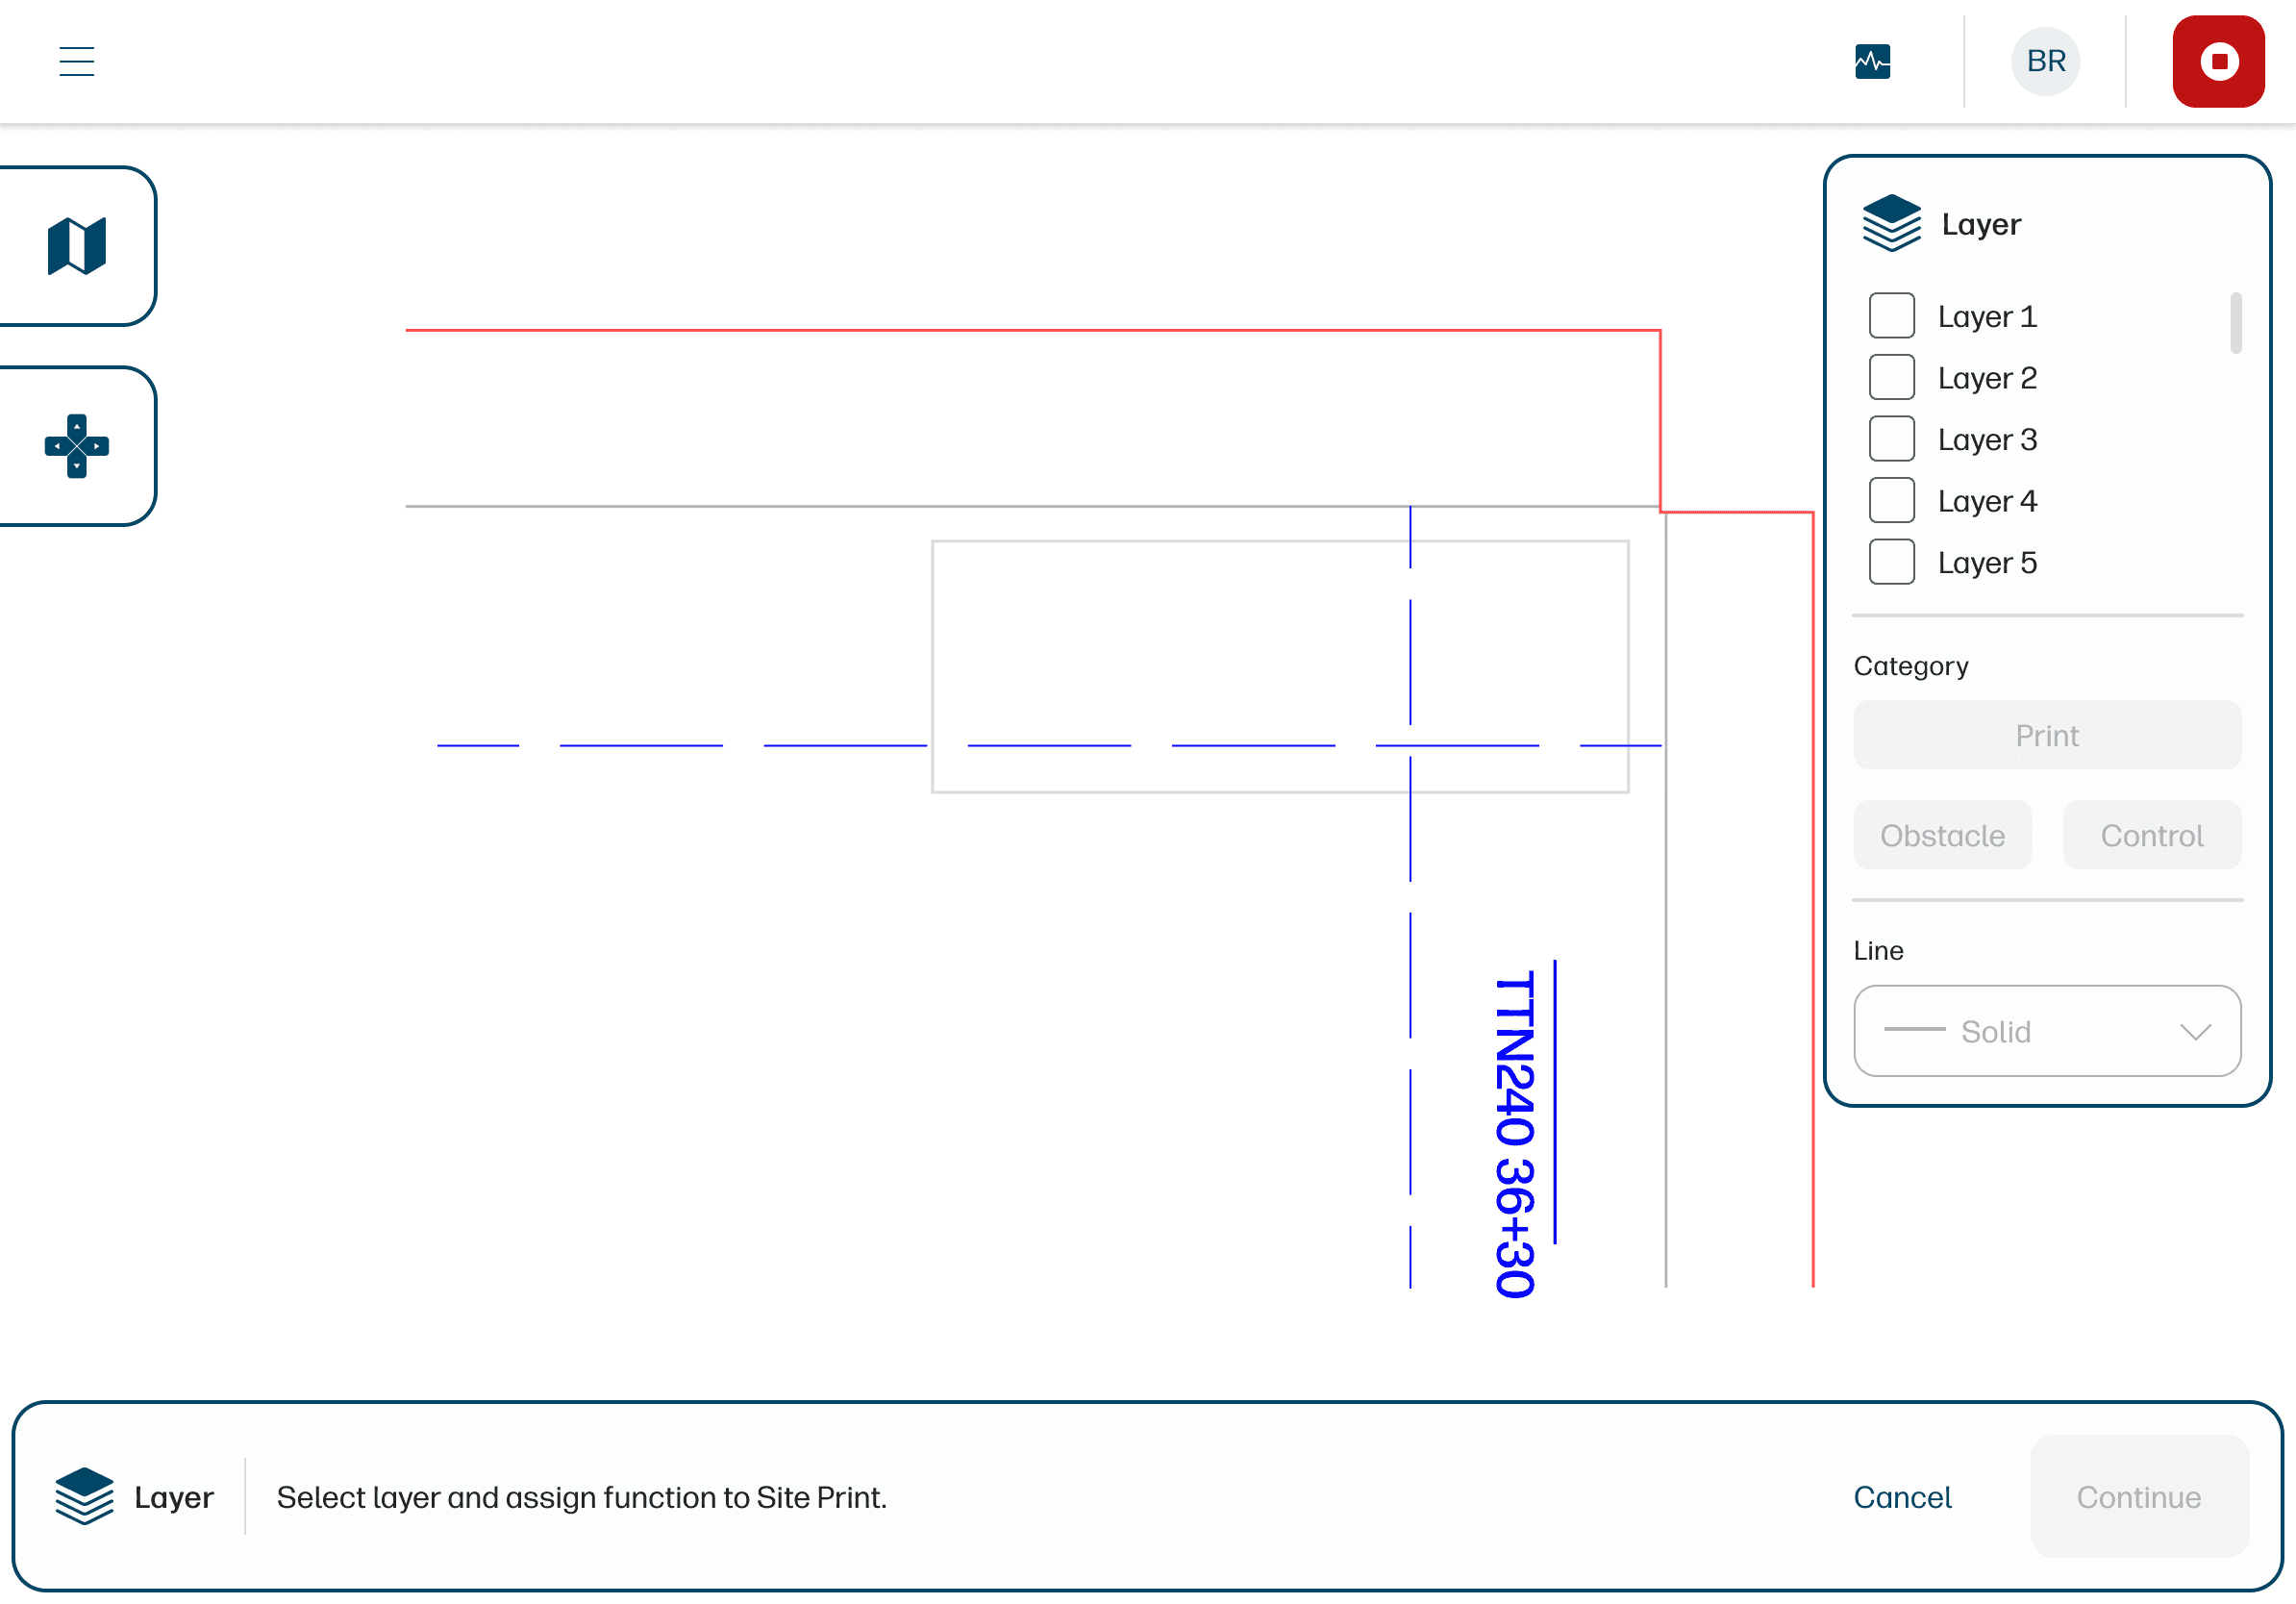
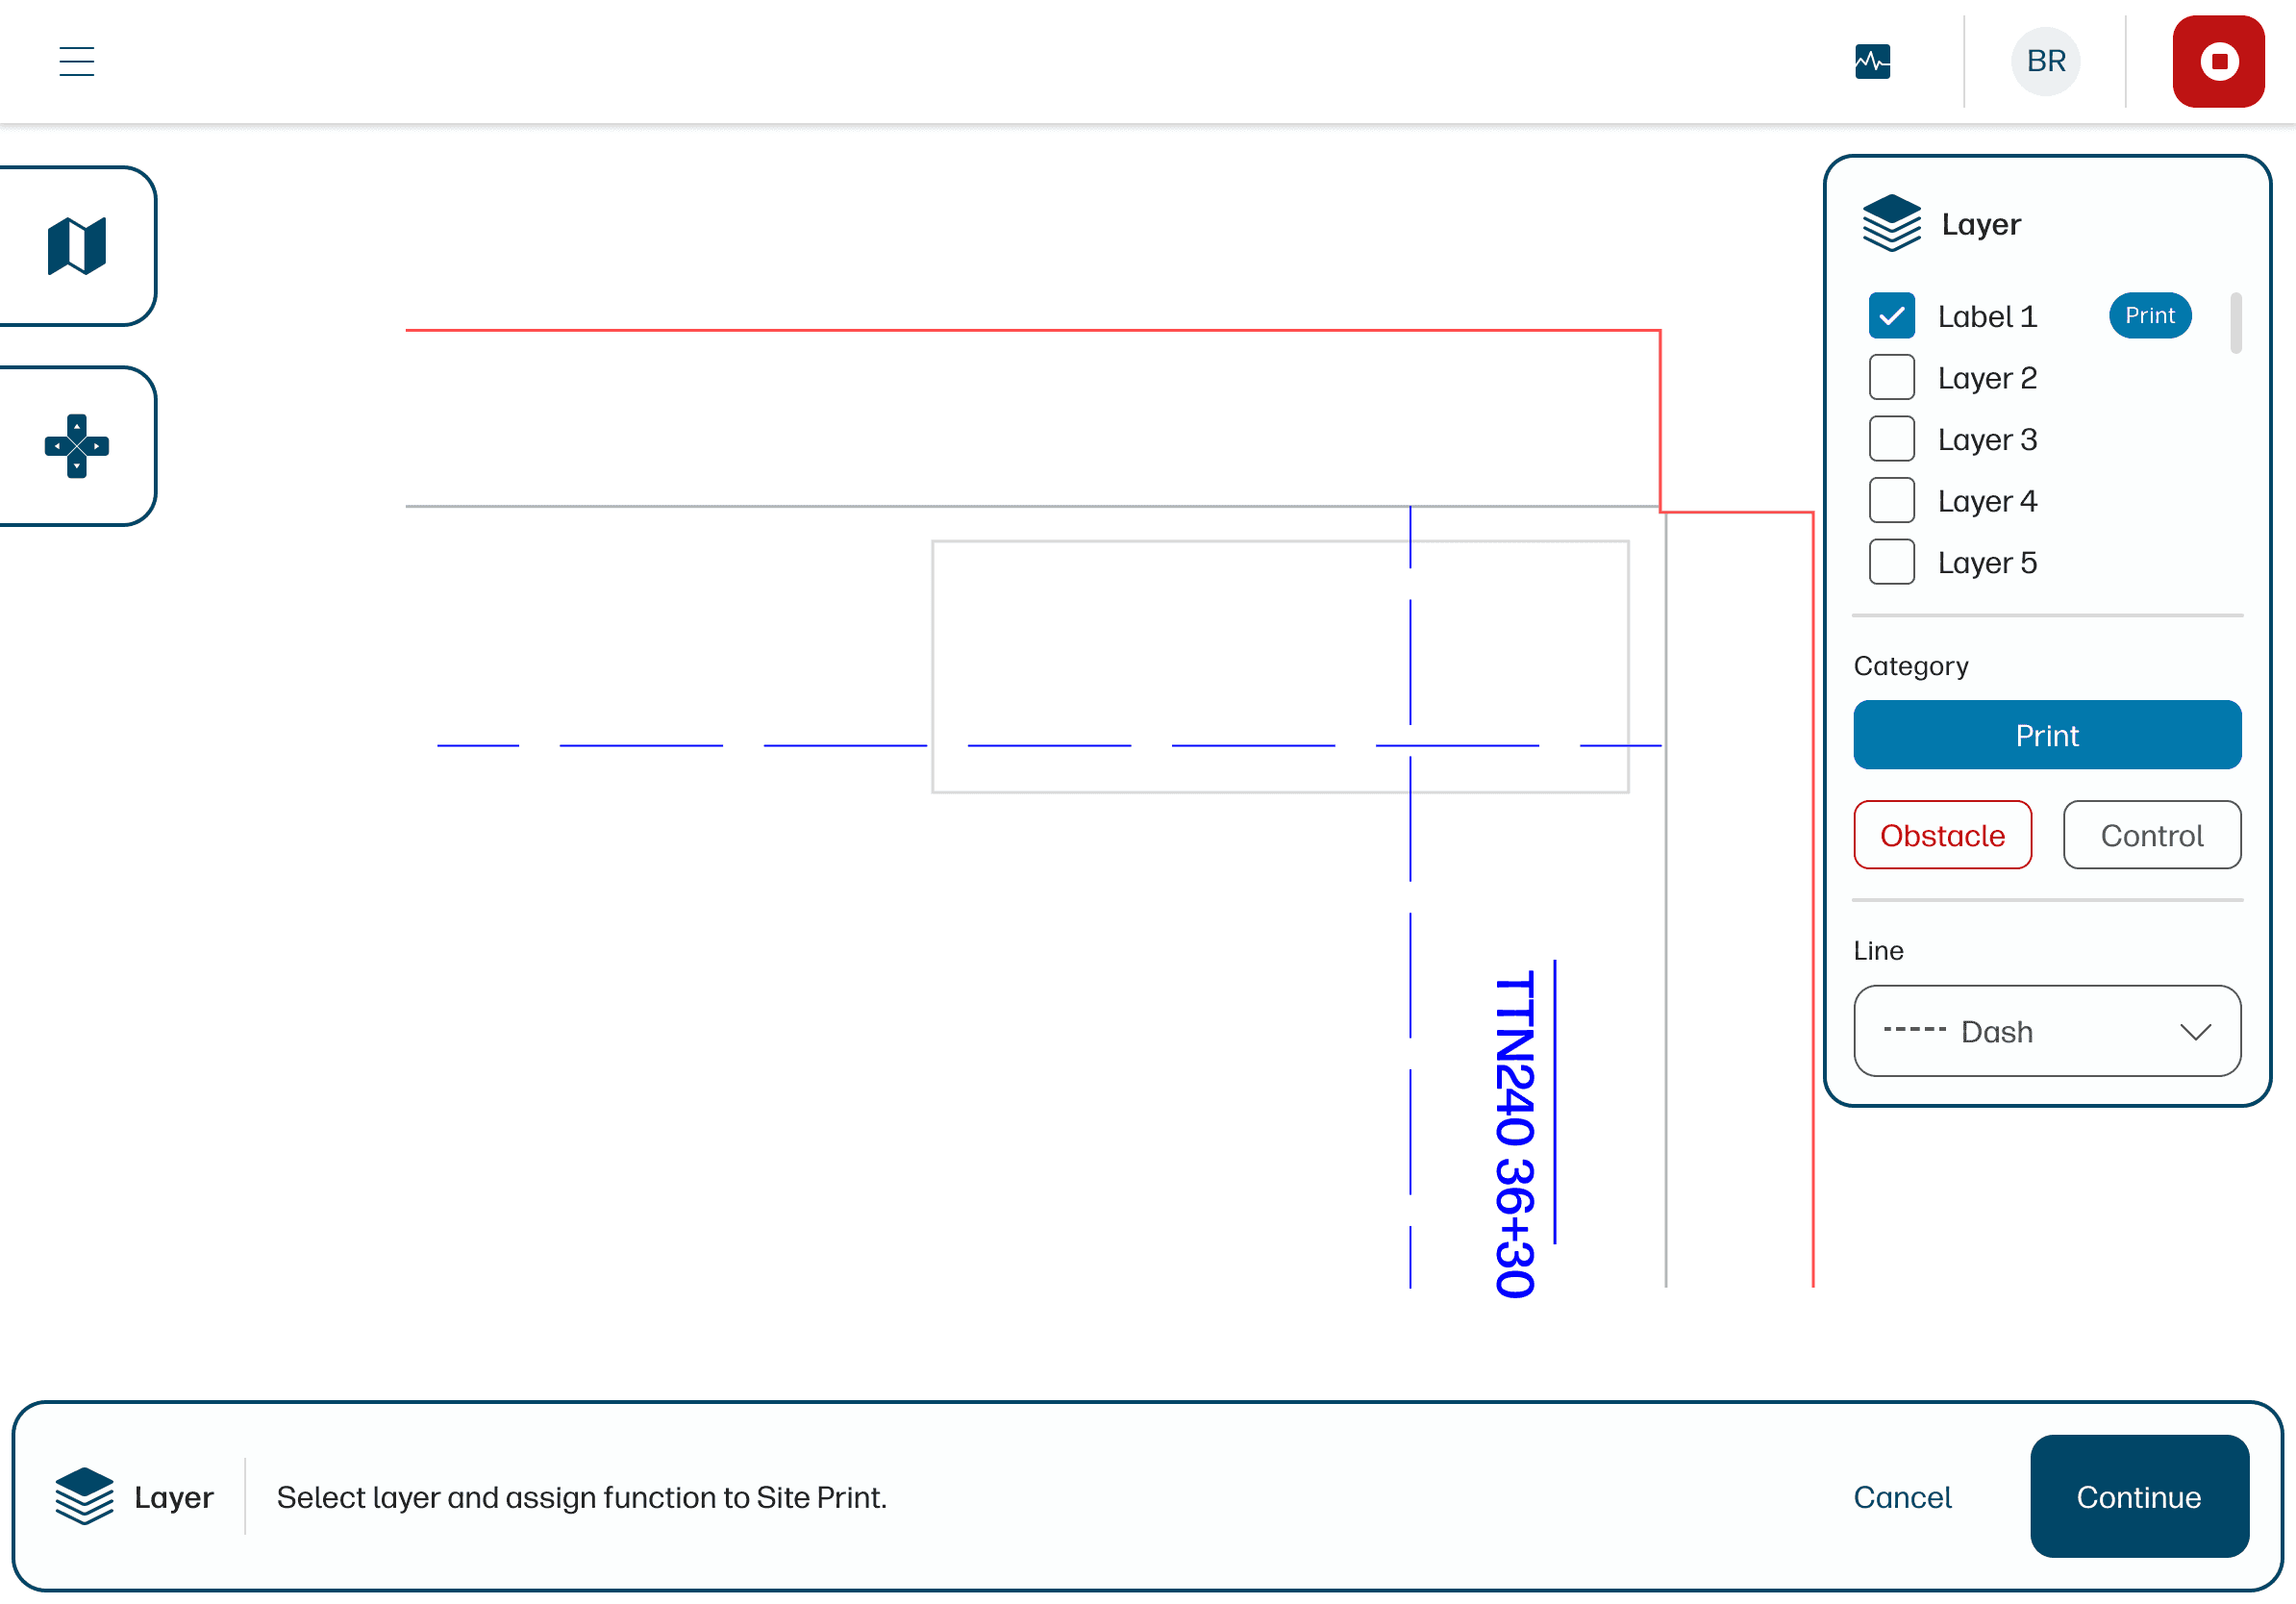
Ability to choose between either to print, to control or to be obstacle for each layer.
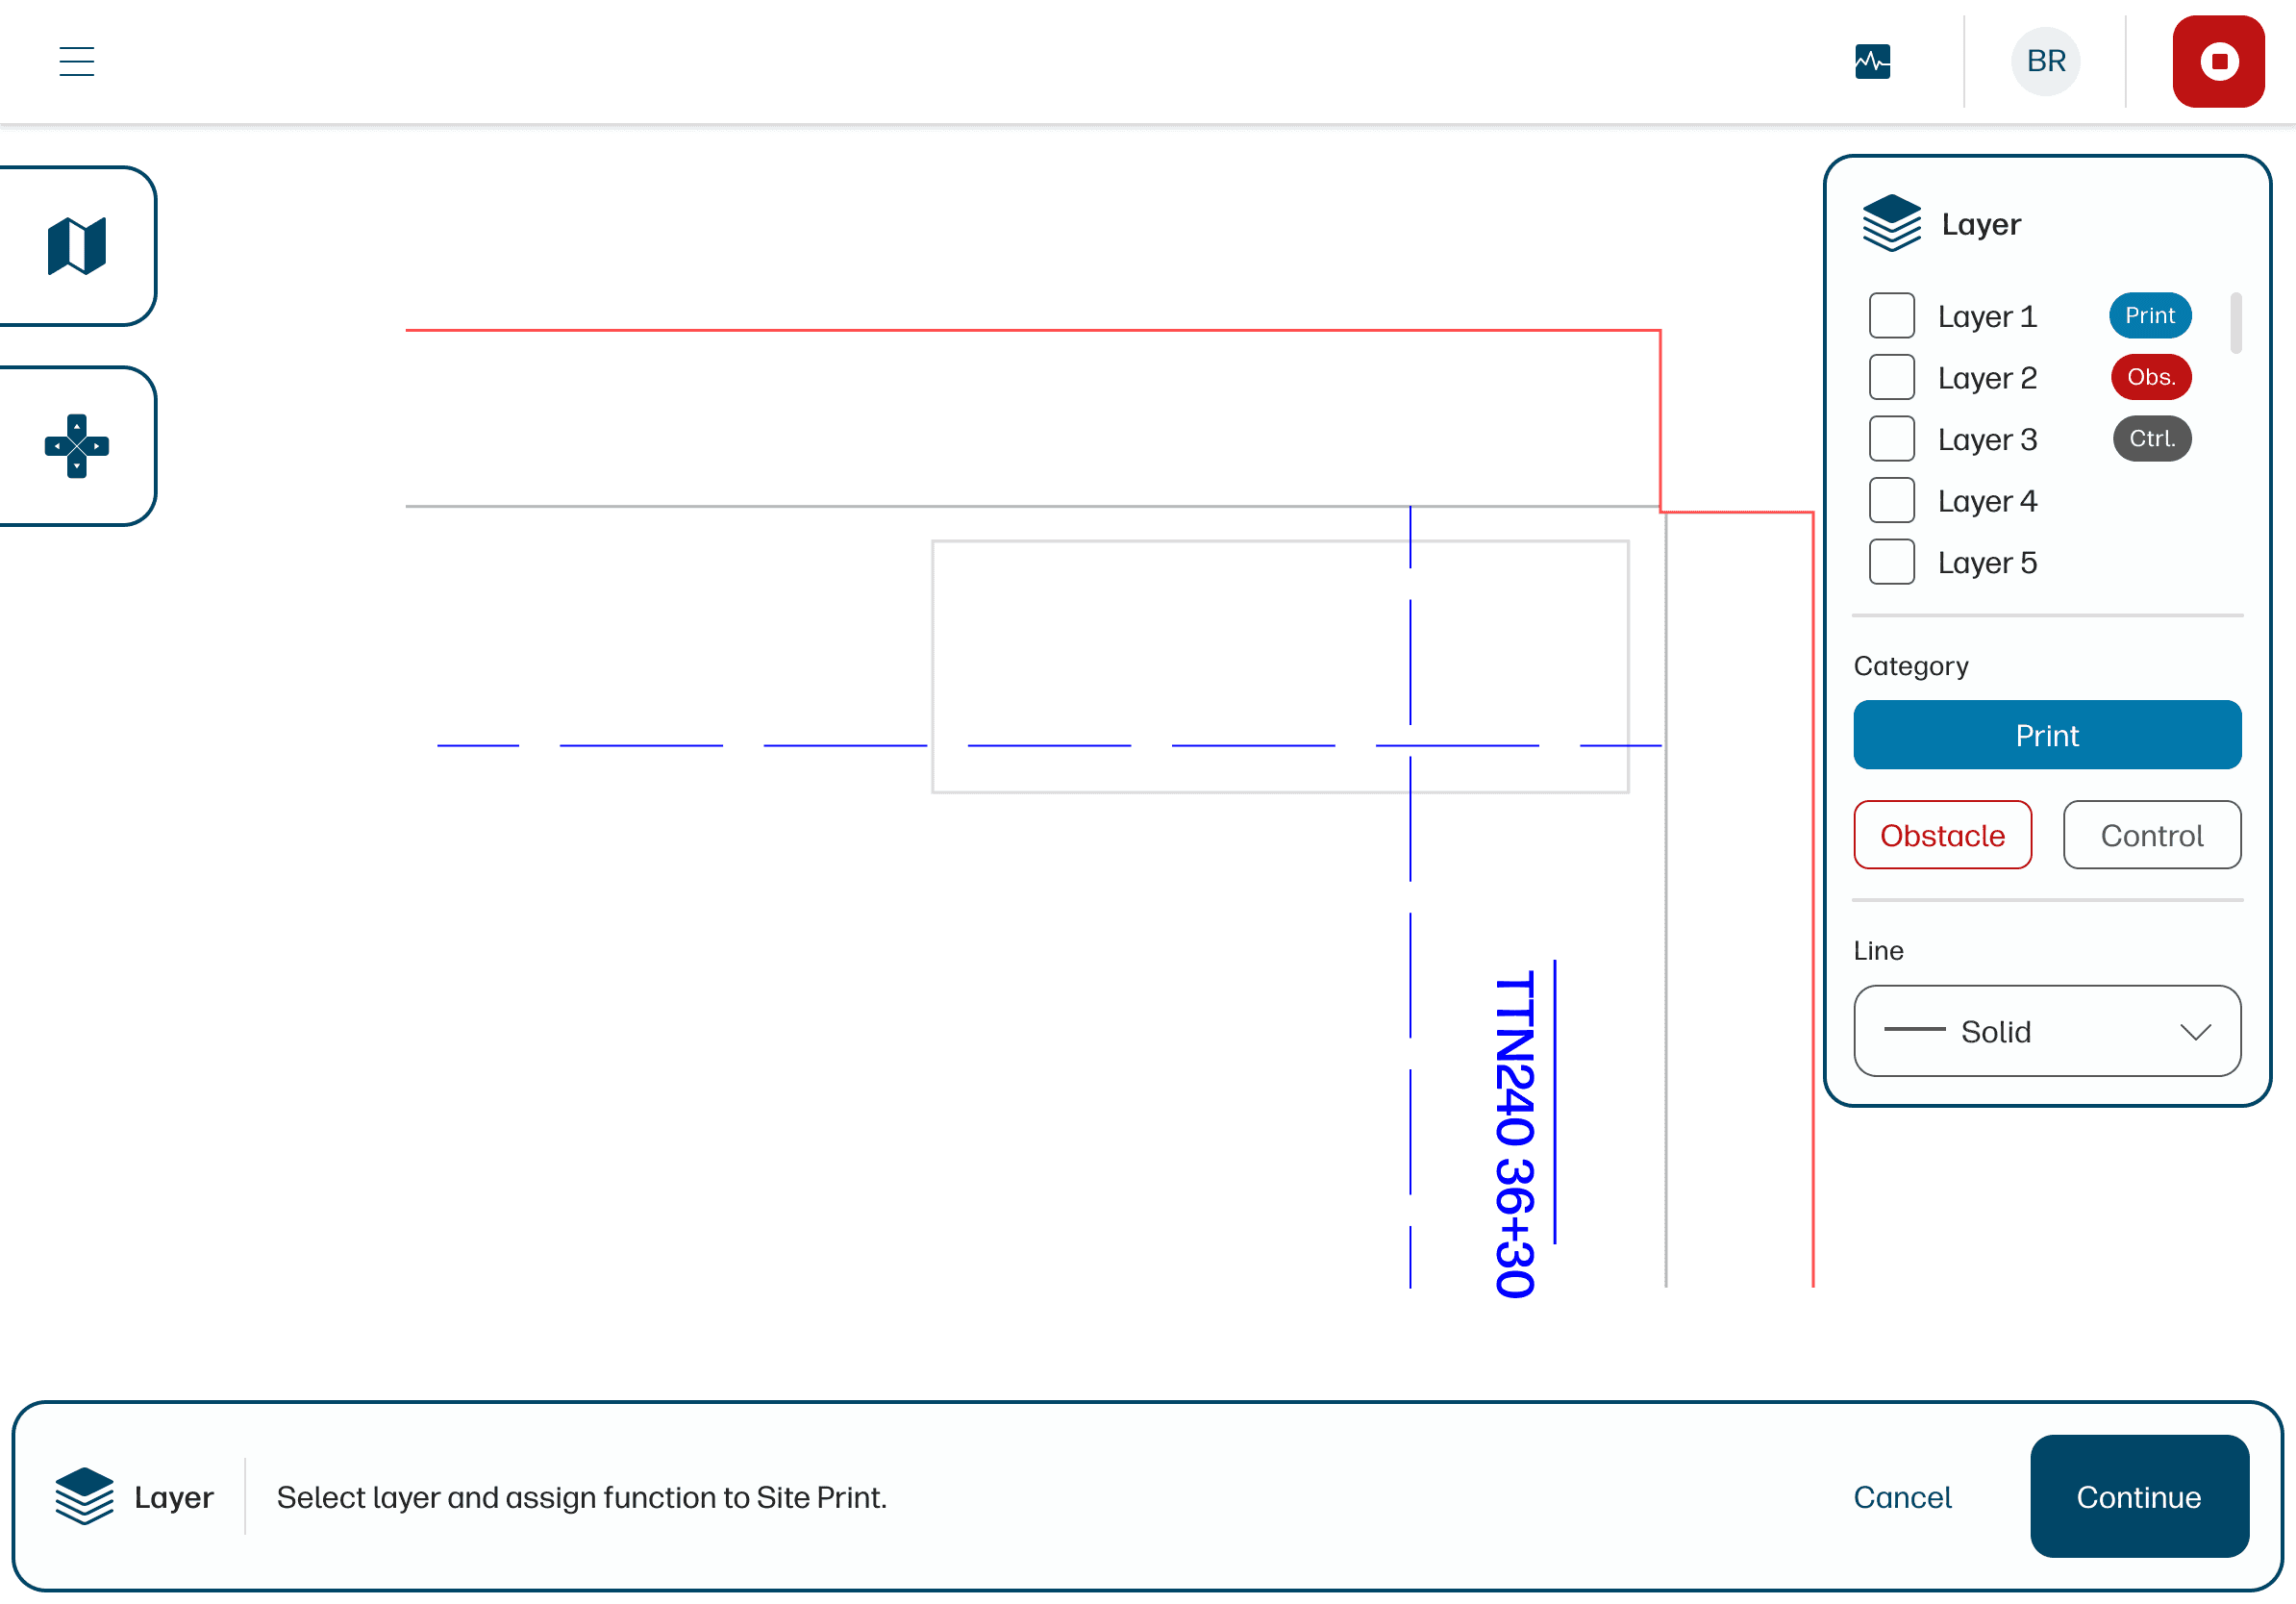
Steps to edit the properties of the layers before print
What Didn't Make It
Field research showed operators needed text tags printed next to each layout line — identifiers connecting the physical print to the digital plan. "Which line is this?" was a real problem on large sites.
I designed the feature. We presented it to the robotics team. Their answer: the print head was too small to render readable text in a single pass. We shipped a simplified version with shorter labels. Full text tagging moved to the roadmap for the next robot generation.
That's designing for hardware. Software constraints are negotiable. Hardware constraints are physical.
Web Platform — Fleet & Operations Management
On the platform side, I designed three connected modules that turned field data into operational intelligence.
Fleet management showed each robot's status, what it had printed, what was scheduled — pulled from field sensors. This fed deployment planning: when to send robots to sites, which projects needed coverage. The data came directly from the control panel's sync with each robot.

SitePrint Cloud — fleet management dashboard

Ink management worked like a small e-commerce system. Each account tracked ink levels per project, estimated future consumption, and could order different ink types when sensors detected low levels. The ordering flow connected field reality to supply chain logistics.

SitePrint Cloud — project/account views

Analytics dashboard consolidated everything — fleet performance, ink consumption, project progress — for HP account representatives managing multiple clients. Think Power BI for robot operations.

SitePrint Cloud — analytics screens

Systemic Impact
The CX Lead connected business, stakeholders, users, and sales — that perspective defined what to design. I worked with another interaction designer, and our role went beyond execution. We proposed features that extended the vision, giving the CX Lead stronger material to bring to HP leadership.
The control panel and platform weren't separate products. They were one system where field and office shared data. Designing that connection — not just the screens — was the actual job.
//productivity
10x
productivity (25 → 300 ft/hr)
//cost
86%
cost reduction
//performance
40x
speed on complex layouts
//scope
100+
projects in 6 countries
Learning
The closer I worked with the robotics engineers, the faster my designs reached production. Understanding how things get built — hardware limits, firmware logic, what the robot can physically execute — doesn't slow design down. It makes proposals more realistic. That reduces implementation time because there are fewer surprises when designs reach development.
I took that lesson directly to my next project at Nacar — Roche navify Integrator. There, understanding medical compliance constraints and backend architecture became just as important as the interface design.